User & Role Management
The User Management screen in the SmartForms portal is accessible by users with the Partner Administrator, Primary Administrator or the Client Administrator role. Refer to this article for more info about the roles.
This screen allows you to setup your client's staff with access to the SmartForms Portal and assign them with the individual access to the available forms.
Administering for a Client
The SmartForms portal allows a user with admin role to switch between Clients and perform administrative tasks for each selected client. There are two ways in which you can select a client to perform the admin tasks for:
Option 1: From the Pia Partner Portal
- Go to the 'Clients' Tab of the SmartForms Settings screen in your Partner Portal
- Click on the "Portal" link at the end of each row in the table. This will open the SmartForms portal in the context of the client for you.

Option 2: From the SmartForms Portal
- Log into your SmartForms portal
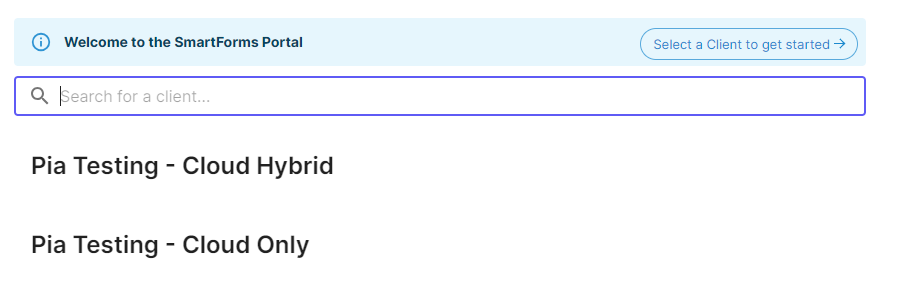
- If you are a user with Admin Role, you will be asked to select a client before you can start
- Select the client from the list
A top bar will be displayed in the SmartForms portal showing who you are administering on behalf of. You can change the client to administer for by clicking on the "Change" button and selecting the required client from the dropdown.
Adding a New SmartForms User
Step 1: Login to the SmartForms portal using your Microsoft Account.
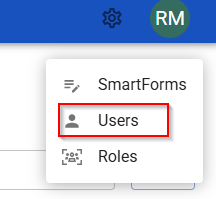
Step 2: Click on the Users option under the settings icon. This will open the User Management page for you.
Step 3: In this page, click on the "New User" button available on the right side.
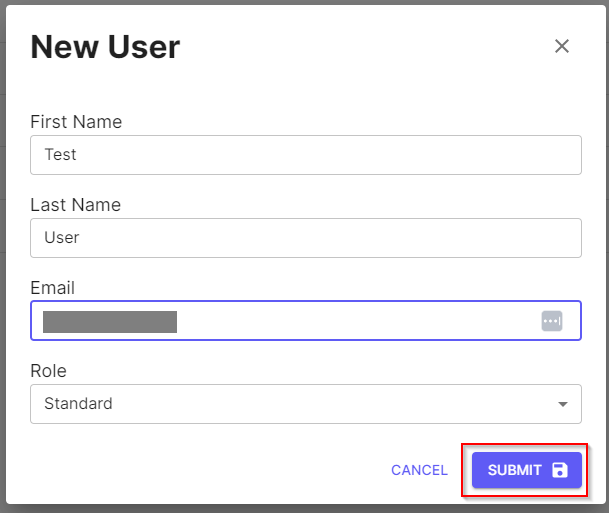
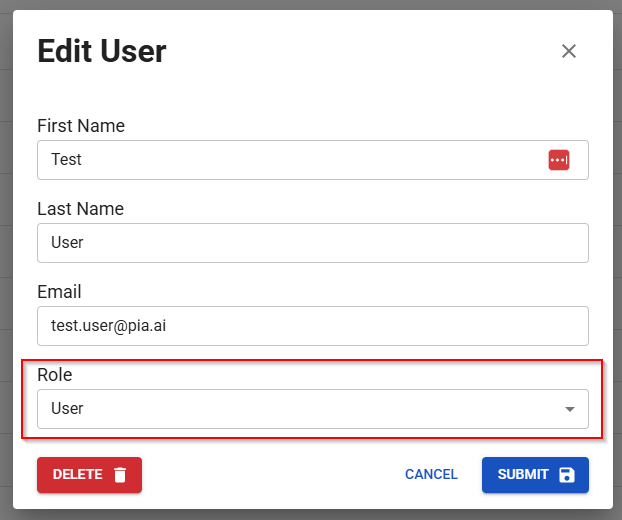
A pop-up box will open where you can add the new user's details.

Step 4: Add the required details and click 'Submit'.
You can modify the users by simply clicking on the User Name from the list and editing available details.
Enabling SmartForms for the new user
Before the newly created user can view and submit SmartForms requests, they will require access to the SmartForms. You can manage the user's access to the SmartForms in two ways in this screen:
- Assigning SmartForms roles to the user
- Assigning individual SmartForms to the user
Assigning SmartForms roles to the user
You can assign the new SmartForms users with a single or multiple roles that best suits their requirement. The role assigned to the user will determine their access to the SmartForms as each of these roles are tied to a single or multiple SmartForms. Pia provides you with the option to either choose from System roles or custom user roles that you can create and assign to the users.
You can assign a single or multiple role(s) to the user during the SmartForms user creation process or by clicking on the name of the user if the user has already been created.
- In the Edit User pop-up, click on the Role drop-down
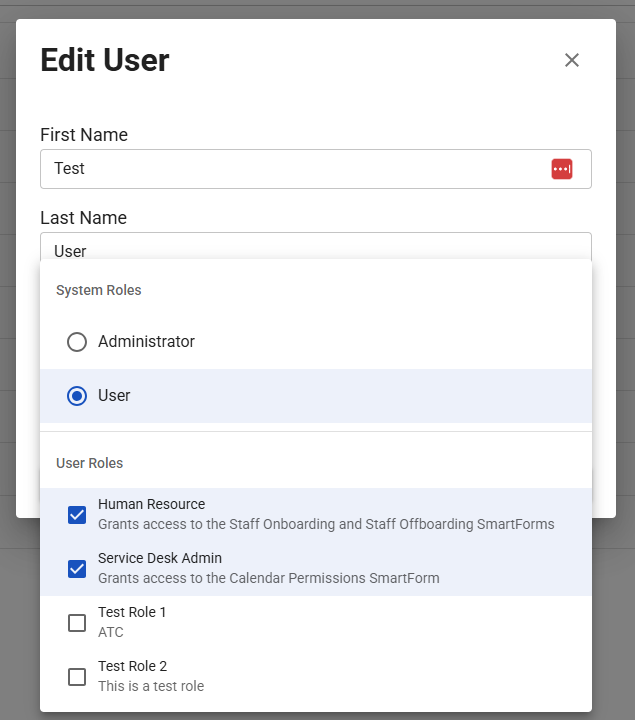
- Select from the System Roles and User Roles that are available.
You can select both system roles and user roles that matches the user's requirement. For system roles, only a single selection can be made whereas multiple user roles can be selected at once.
- Once done, save your changes.
Assigning individual SmartForms to the user
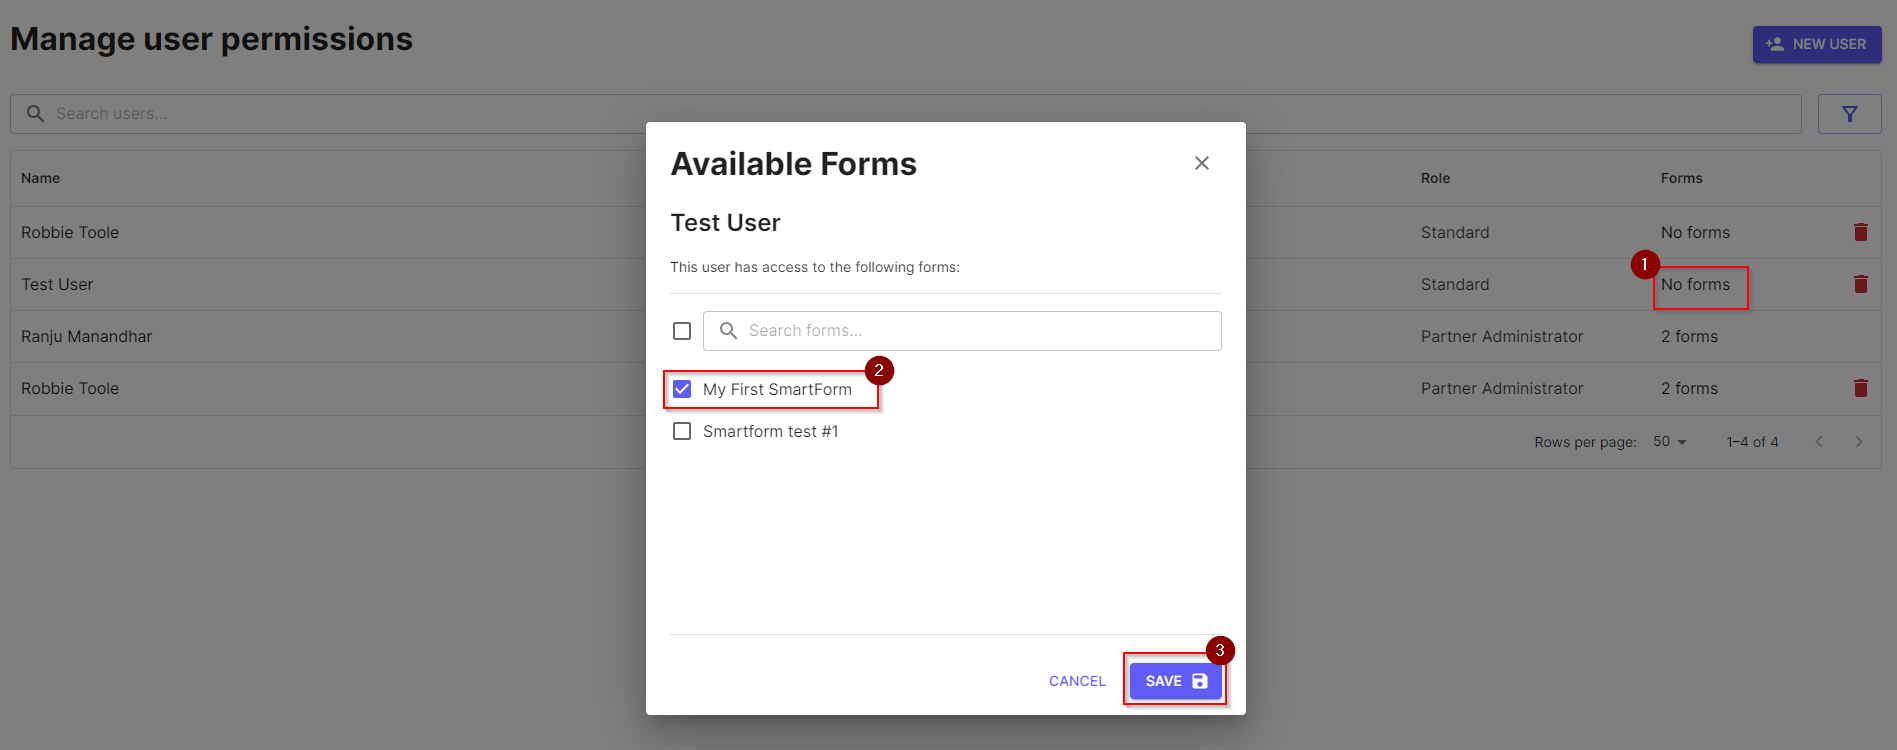
In addition to assigning roles to the user, you can also assign individual SmartForms to the user using the forms column. To enable the forms for the user, click on the forms column which will open a pop-up for you with a list of available forms.
You can then tick the forms that you want enabled for the user and click Save which will make the selected forms available for the New user.
Custom Roles Management
The Custom roles that are created in the Pia Partner Portal can be further managed in the Manage Client Roles screen of the SmartForms portal. This screen provides you with the options to modify the users that are associated with these roles.
Assigning custom roles to multiple users
To assign a custom role to multiple users at once, follow the steps below:
Step 1: Login to the SmartForms portal using your Microsoft Account.
Step 2: Click on the Roles option under the settings icon. This will open the Manage Client Roles page for you.

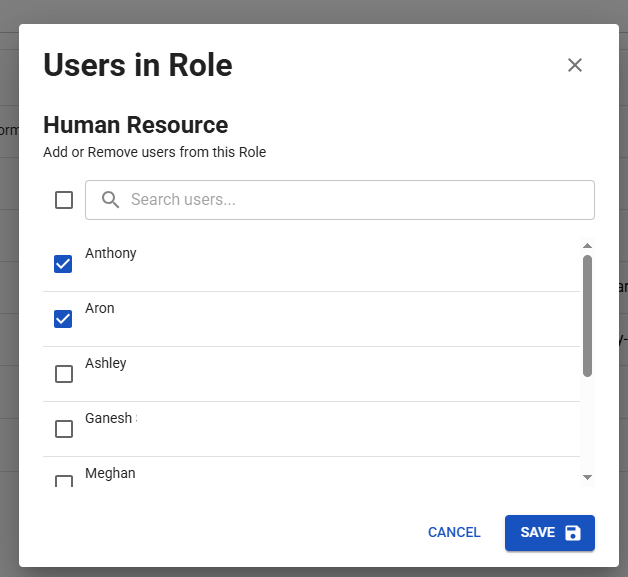
Step 3: In this page, click on the role or click on the users column of the role for which you want to modify associated users.
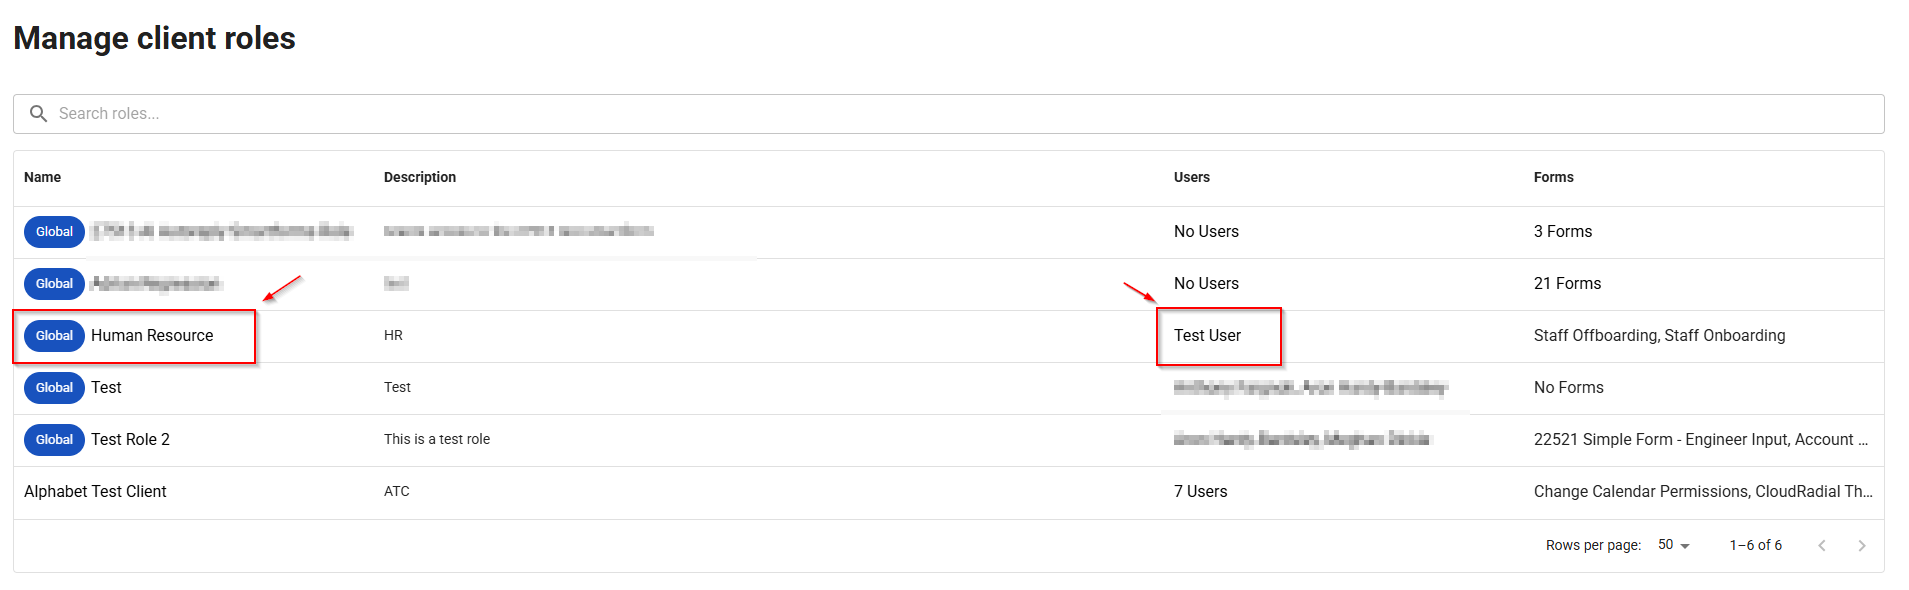
A pop-up box will open listing all the available users.
Step 4: Tick the users you wish to add to the role and Save your changes.